Preheat the application area of the base material for 10-15 seconds. Place the weeded image, with the lining facing up, on the preheated material. Iron-On Designs Instructions · Glitter Ironing Instructions · Cricut EasyPress. After ironing the front, you’ll want to flip your shirt over and press the back for another 15-30 seconds.
This helps ensure that the iron is fully adhered. When you start peeling, be sure to check if your design has completely transferred. If the iron approaches, replace the transfer and press for another 15 seconds. If you continue to peel, cover the iron-on design with the back sheet and press again for another 15 seconds.
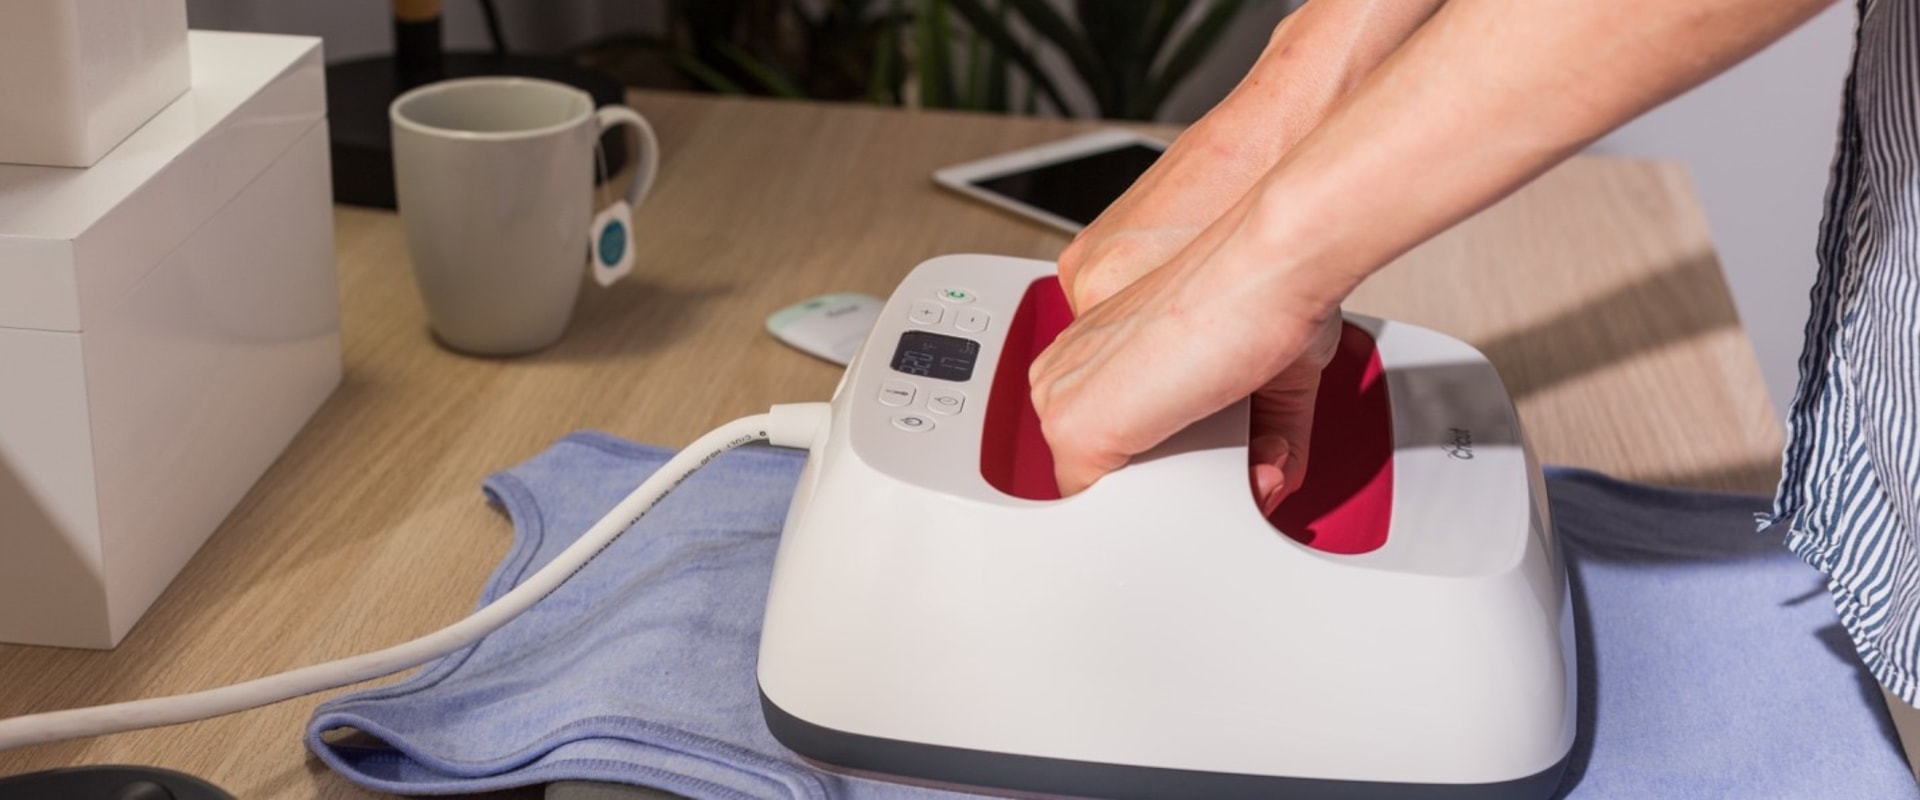
You can also touch up the back for an additional 10 seconds. Press the iron down, hold it firmly for 15 to 30 seconds, and then lift it up and move it if the image is larger than the iron. Do not slide the iron. With the iron on high heat without steam, press with medium pressure for 25-30 seconds on one part of the design.
Then lift the iron, put it back on and press again for 25-30 seconds, until it has covered the entire area. Turn your entire project upside down and press for 25-30 seconds more from the back of the shirt. Again, lift and replace the iron, pressing each area for at least 20 seconds. Wait at least 24 hours before washing or putting on your new shirt.
To iron Cricut Everyday, set your heat press or EasyPress to 315°F, or a regular iron to the high setting or cotton. There are a total of 31 iron-on Cricut glitter colors available, with everything from aquamarine glitter to white glitter, from bronze glitter to multi-rose glitter. At this point, make sure you have loaded your Cricut iron into the cutter in the correct way. Cricut Iron On Lite is the standard Cricut HTV material and is probably the one you use most often in your artisan cut.
I often use my Cricut Brayer to help press my vinyl onto my mat, especially if my mat is on the old side. HTV is widely available at a relatively low price in various stores, both online and in person, but if you have a Cricut machine, it’s worth adhering to Cricut Iron On Vinyl. Unlike Cricut Iron-On, which works on a heat transfer system, infusible ink is a sublimation transfer system that delivers professional results. So, now that you’ve purchased your Cricut Iron On, you probably want to get on and actually use it.
Load the mat, press the up-down arrow button on the left to secure the mat, and then press the flashing Cricut button in the middle to start the process. Cricut Foil Iron On vinyl is available in 12 different colors and can be used with all Cricut cutters. Once the Cricut has finished cutting, press the arrow button once more to release the cutting mat, complete with trimmed vinyl decal. Whether you use your Cricut Maker, Explore Air 2 or Joy, you can create adorable, professional-looking designs with Cricut Iron-On Vinyl.
If the Cricut ironing glitter isn’t eye-catching enough for you, the holographic iron will probably shine up your street. Head to Cricut Design Space and create your design there or download something suitable from their image store. If you’re using Cricut Maker, you’ll need to manually select Iron On from the drop-down list that appears on this screen.